Elements
Size
Age
Levels
Note: Map location may not be exact. Click to open in Google Maps.

The Dry Brook Container House was once a popular AirBnB destination, but is now under new ownership and being used as a permanent home. Once you read through our summary and take a look at the pictures, you’ll have an idea why this simple home was a favorite of visitors to the area.
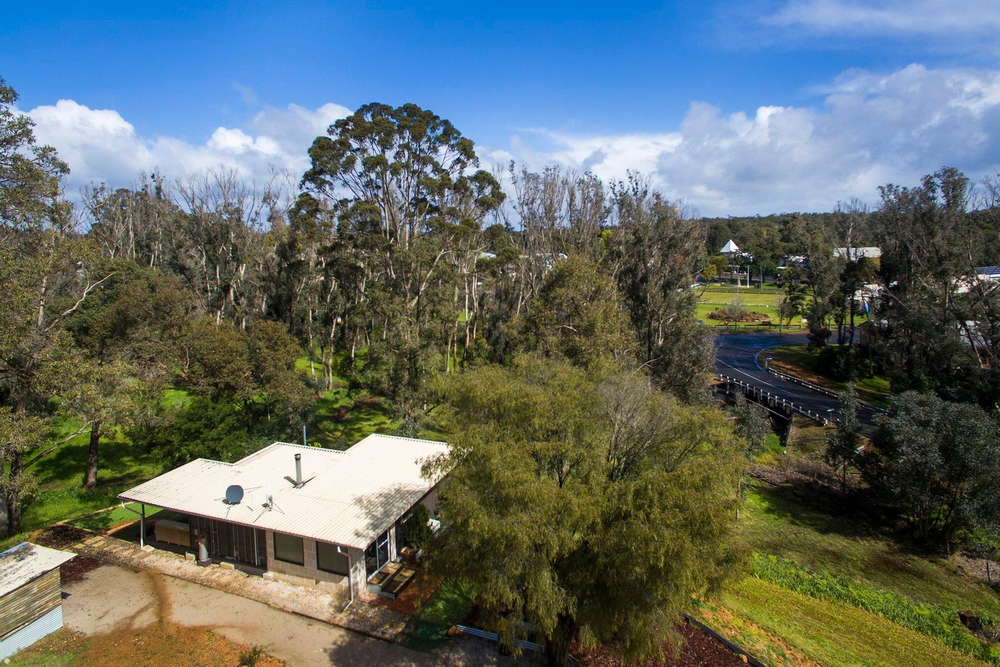
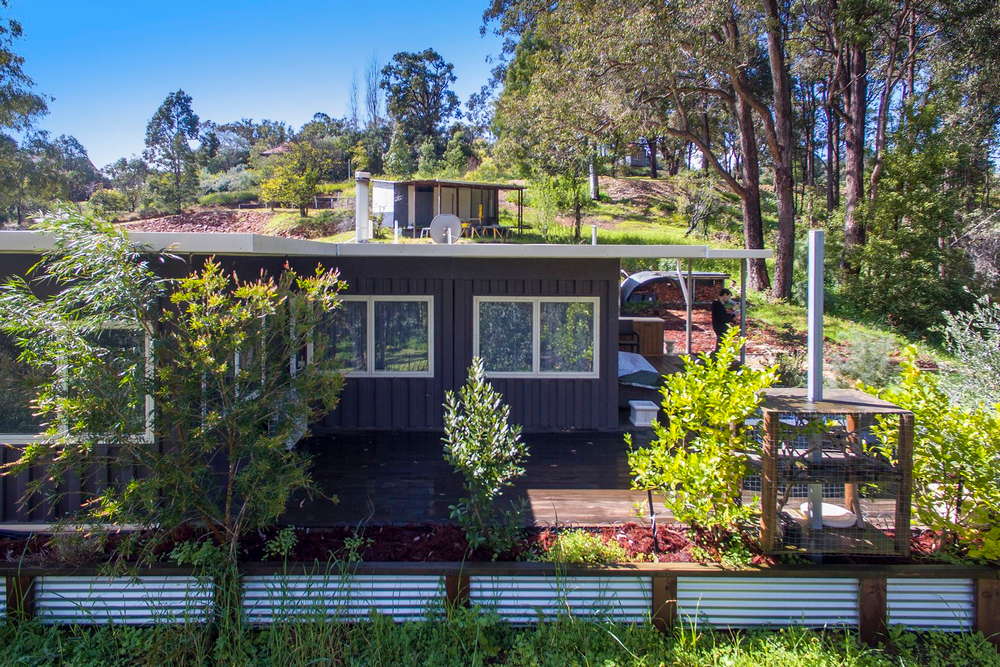
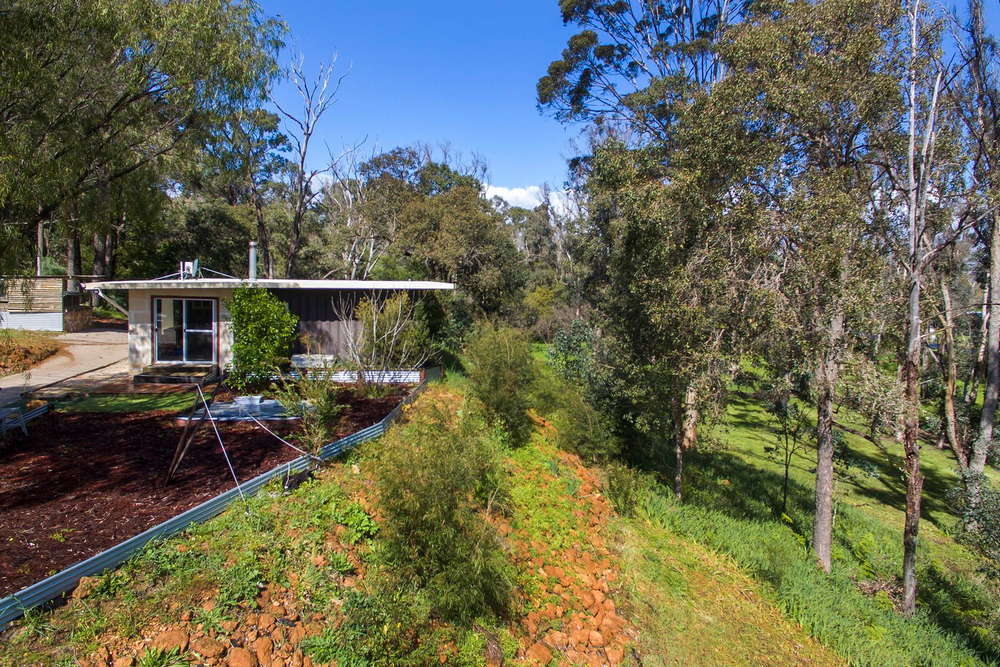
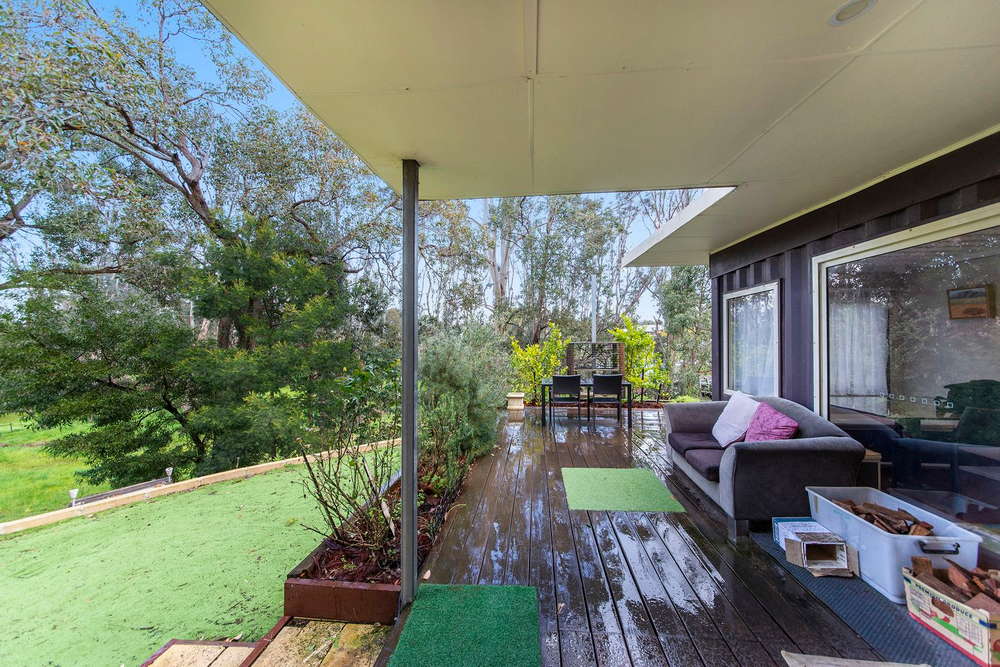
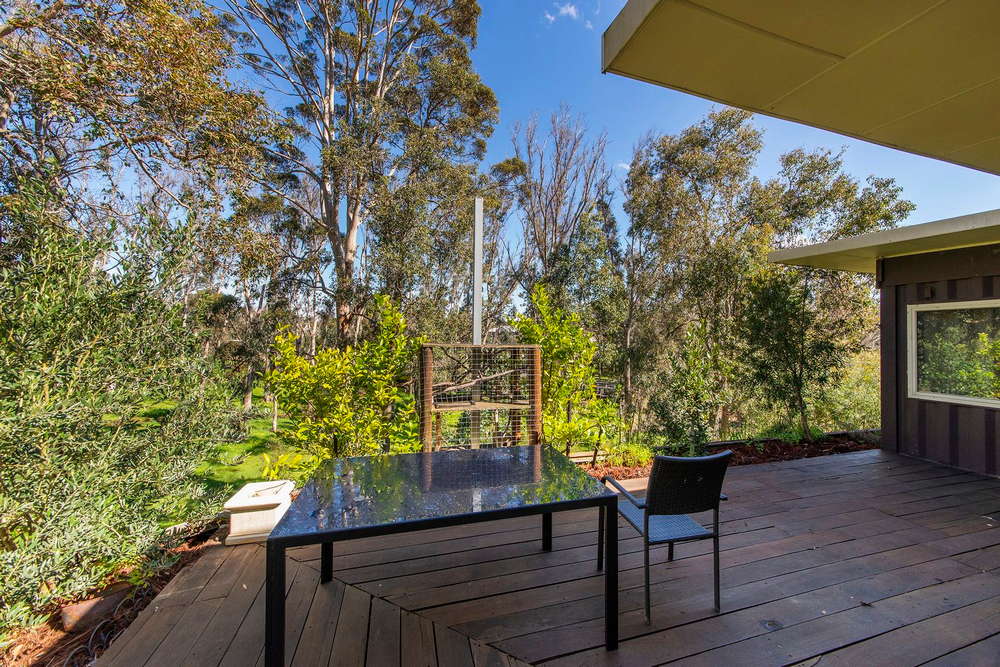
The home sits in the small village of Nannup, in the far SW corner of Australia. While it’s a short two-minute walk into the center of town, the home is set up on a hill and feels more remote than the description may indicate. The location provides great views of the mature trees and the nearby Dry Brook creek.
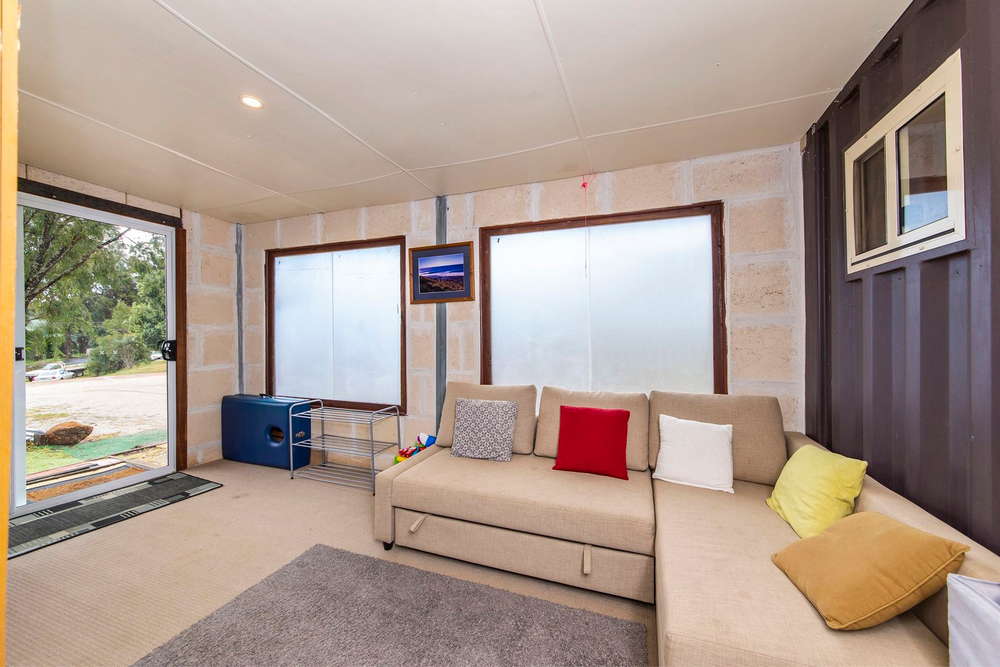
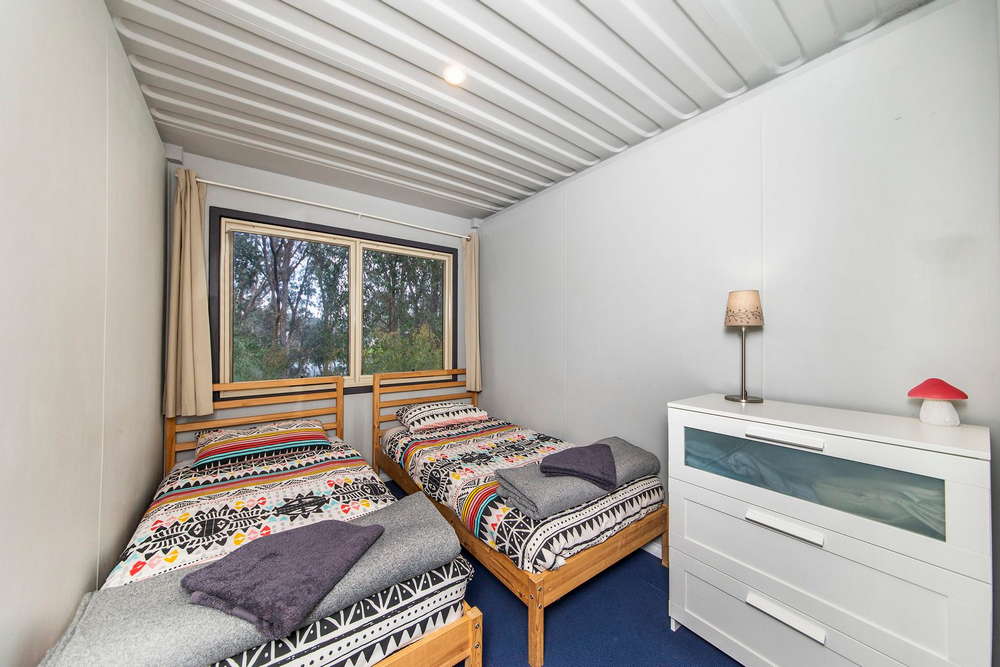
Built primarily out of shipping containers, the home also takes advantage of salvaged materials from a 100-year-old house that was originally on the property. It’s a unique blend of old and new.
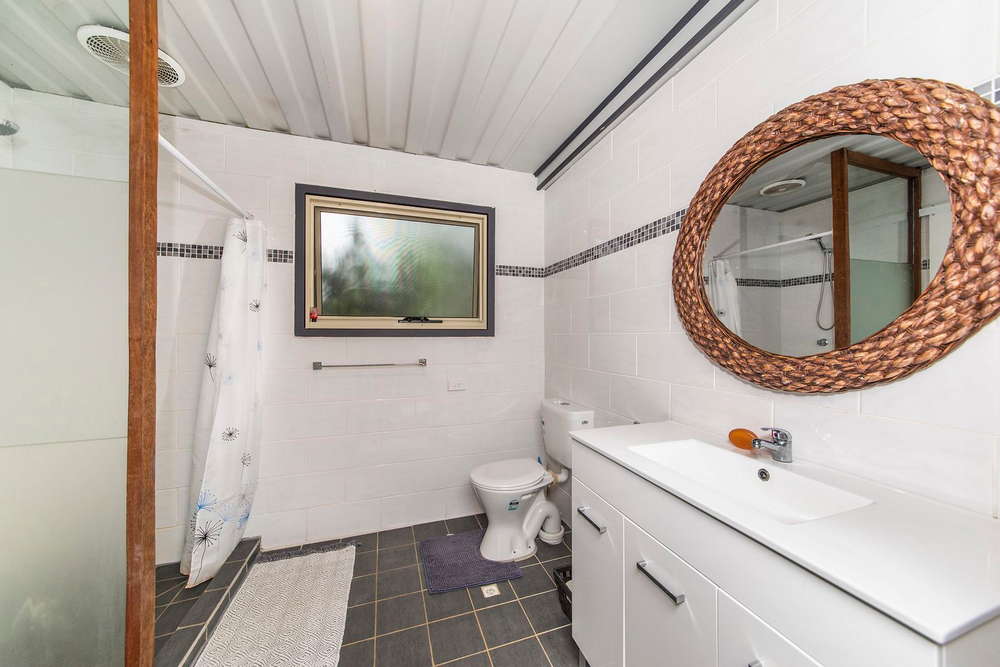
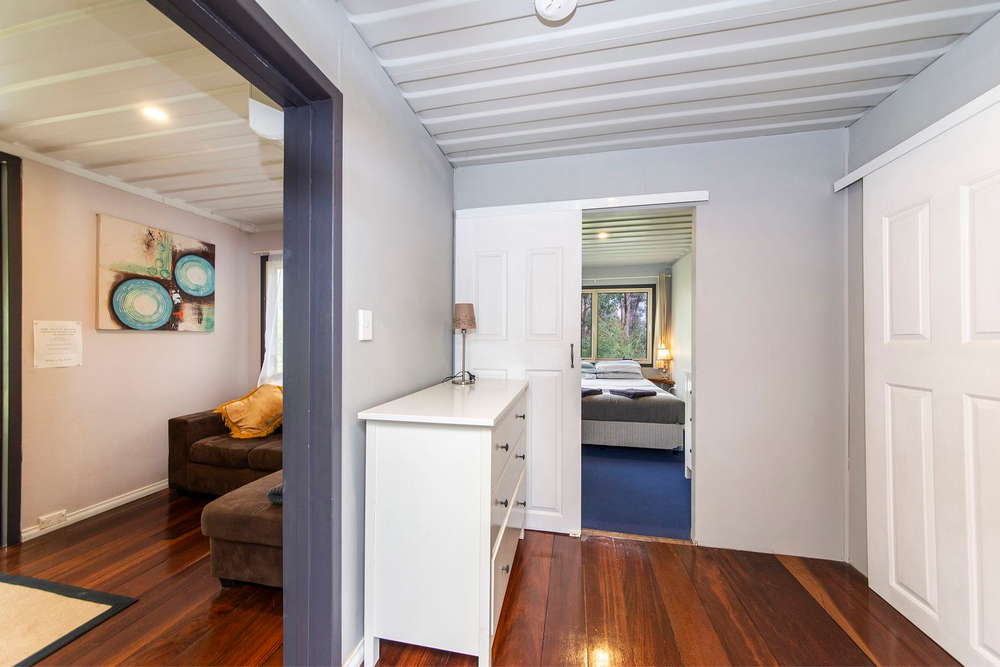
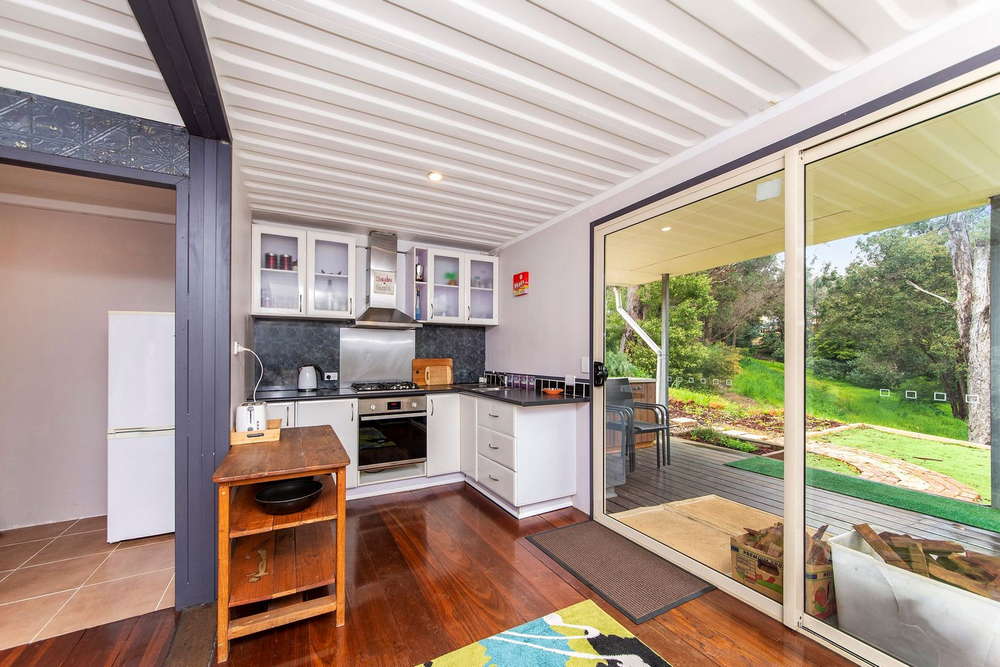
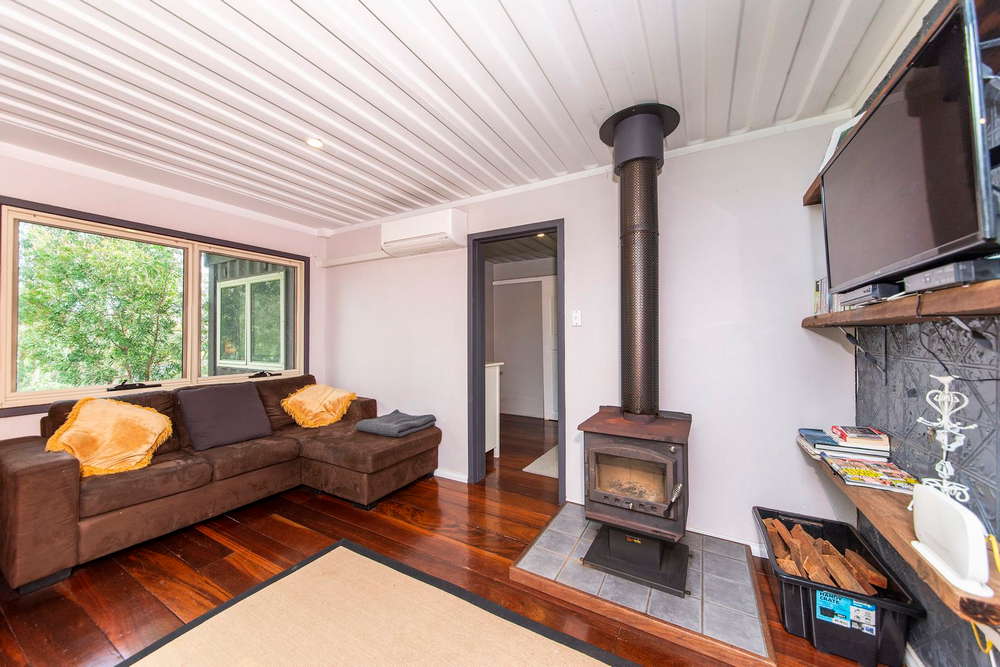
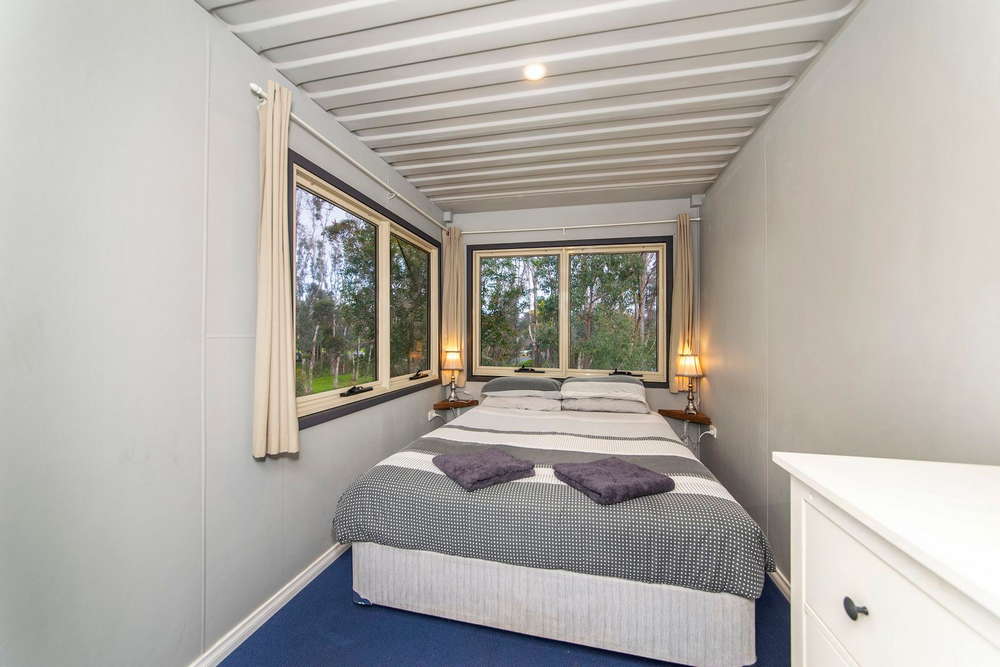
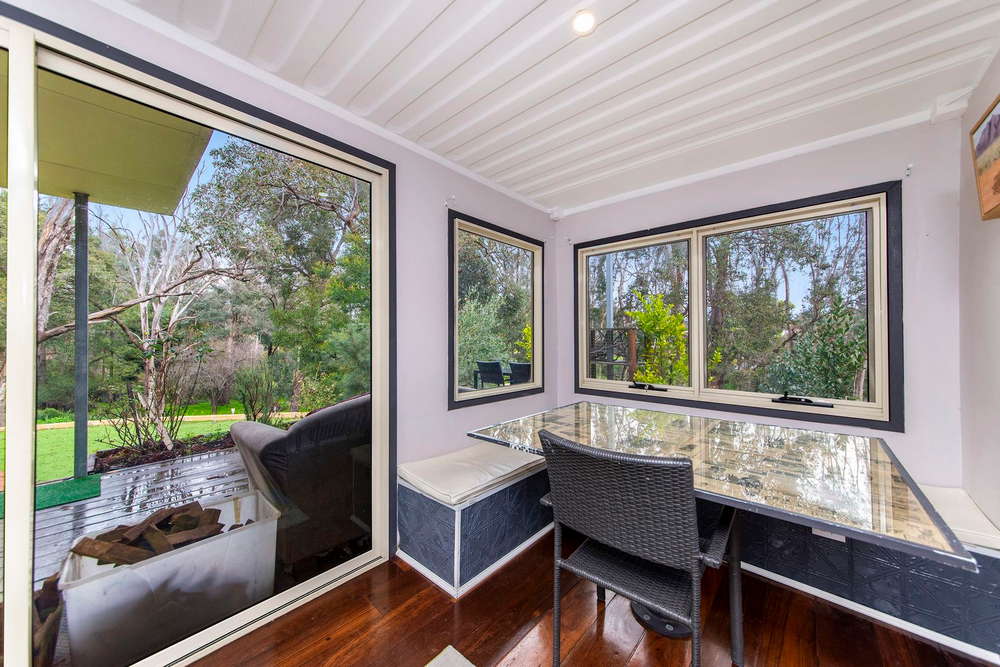
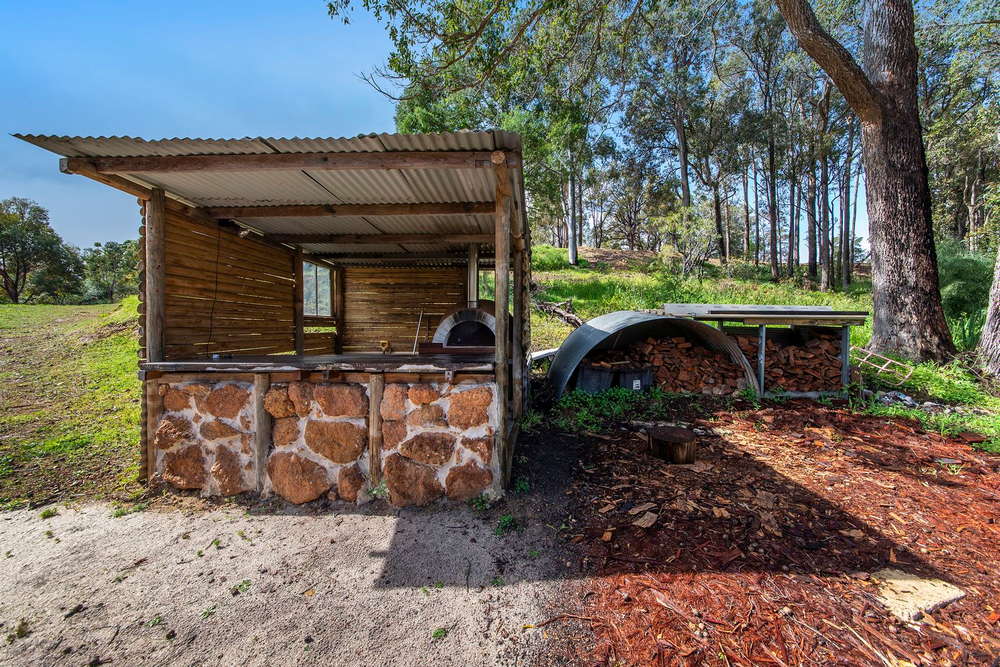
The floorplan is relatively simple. Two bedrooms, one bathroom, a kitchen, living room, laundry area, and sunroom. Thanks to the great views and ample porch/patio areas, outdoor living space is also abundant. And if you’re craving a culinary adventure, the house also includes a separate outdoor pavilion with a wood-fired pizza oven!
The original owners chose to make the layout into more of a zig-zag design so that despite being ‘small’, the home has a lot more character than a simple rectangular arrangement. The huge windows also make it feel larger. And not to worry, the house has many generous overhangs that should help keep utility costs down.
We don't have any contact information for the owners at this time.
Interested in Container Homes? You need our FREE cheat sheets to help decide if containers are right for you!